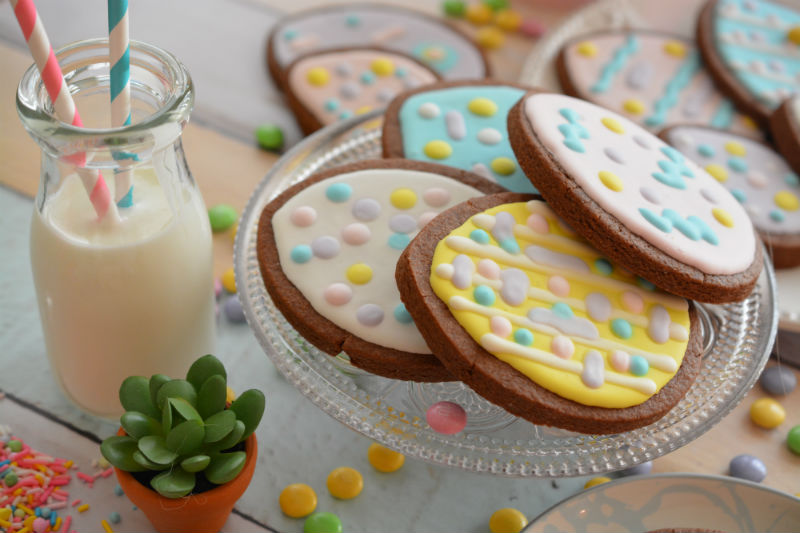
Chocolate Egg Sugar Cookies with Royal Icing
By Lizzie on April 2, 2018
Hey Everyone!! Happy Spring!! It’s been so beautiful lately here in Florida, and the time is just flying by. Before we know it, it will be summer and back in the 90’s every day, so I am grateful for the lovely moderate days and cool nights. Every time I complain about how hot it is here, I remember my younger days of living up north, and the long, grey winters. There was one day I was outside shoveling snow and thought to myself…someday when I am older, I am heading south 🙂 No matter where I have ever lived, it’s always been important for me to be grateful for the life I am living at that moment 🙂
I know I’ve told you all that one of my obsessions, besides baking of course, is to find really fun props for my photo shoots. Spending time in small local shops or bigger stores like Williams Sonoma, Pier 1, and HomeGoods, are so much fun for me. Many times when I find great dishes, utensils, glasses or back drops, I will create a blog post around them. With Easter on the way, I knew this next post should have something to do with pastel colors and a Spring theme. A lot of bloggers have been posting sugar cookie recipes lately, so I decided to shake things up a bit and post my chocolate sugar cookie recipe and a royal icing tinted with fun colors.
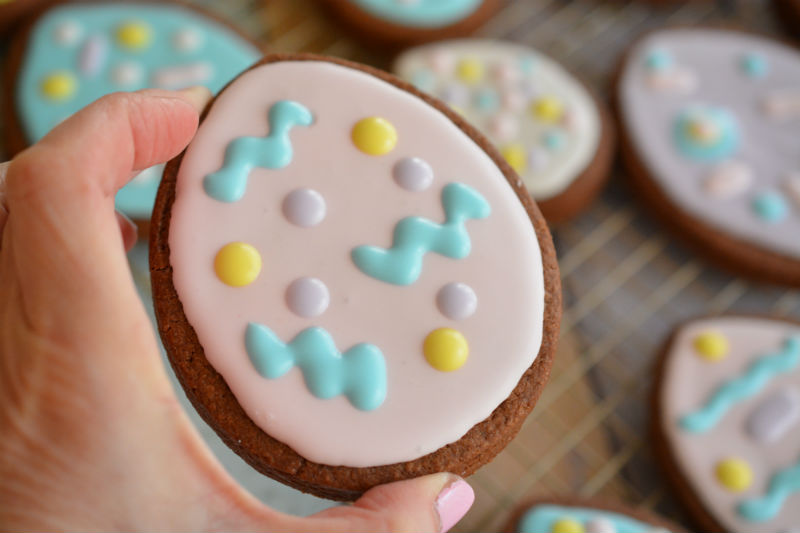
A word of caution here…royal icing can be a bit fickle and somewhat of a pain if you are not used to making it. If it’s too thin, it will run all over the place and create a huge mess, (hence my first attempt at royal icing) 🙂 If it’s too thick, you won’t be able to use a small piping tip to line and fill the cookies. It is better to start out with icing that is too thick, then add small amounts of water to get to the desired consistency. As you can see from my photos, I didn’t pipe the icing all the way to the edge of each cookie. I think it’s a bit easier to draw your line inside the cookie, then fill it in with the icing going back and forth. When the cookies were filled and dried, I created polka dots, lines, squiggles and some free form shapes on top of the dried icing. You can really create any design that you like. It’s going to take some practice if you haven’t attempted royal icing before, but don’t stress, and remember…baking is all about having fun 🙂
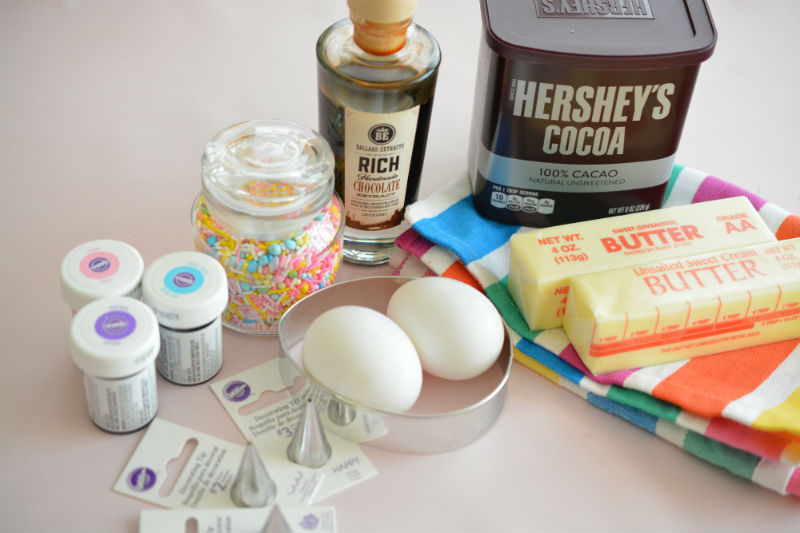 Some of the ingredients you will need for this post. You will also need meringue powder for the royal icing.
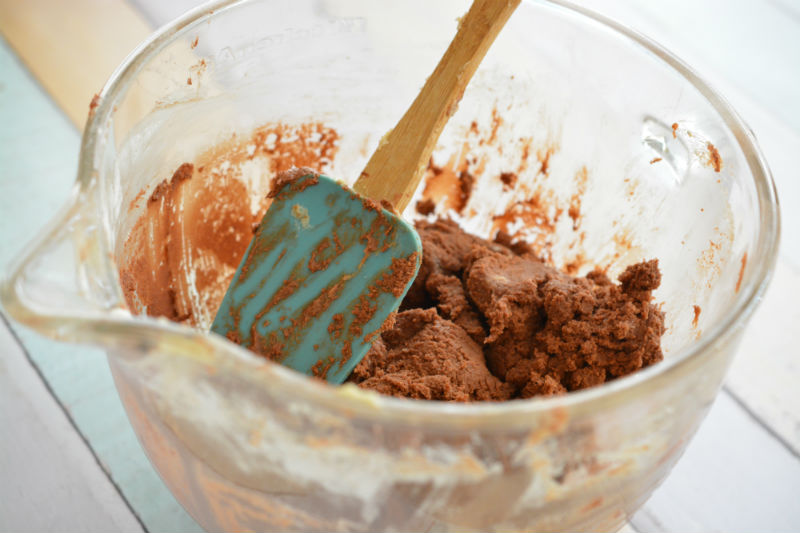 Use your stand mixer to mix the dough ingredients.
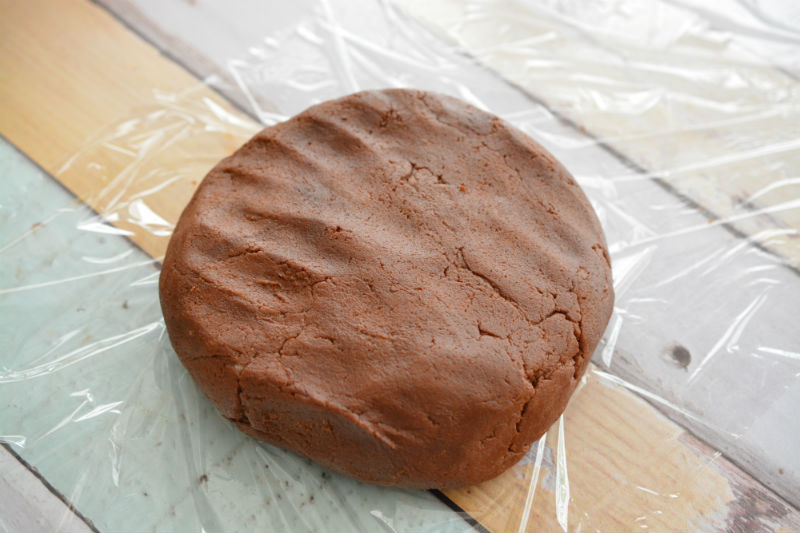 Roll the dough into a ball in your hands, then flatten and place on plastic wrap.
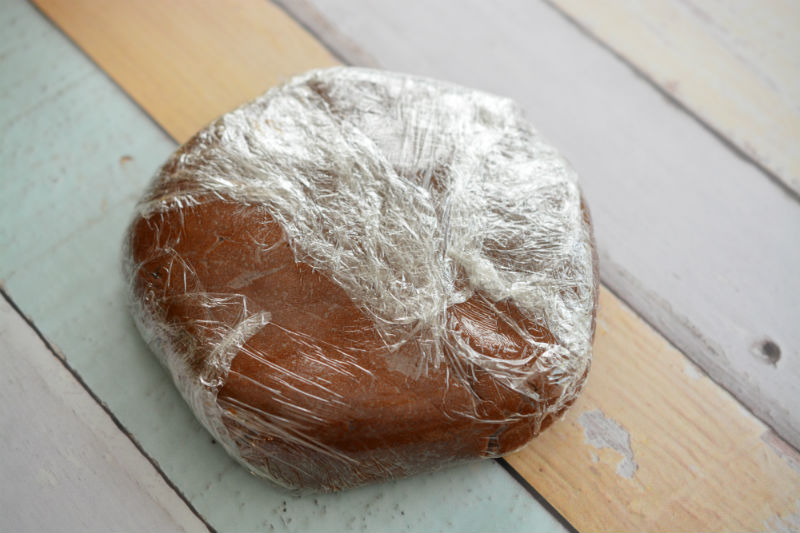 Wrap the dough in plastic wrap and refrigerate for an hour before rolling it out.
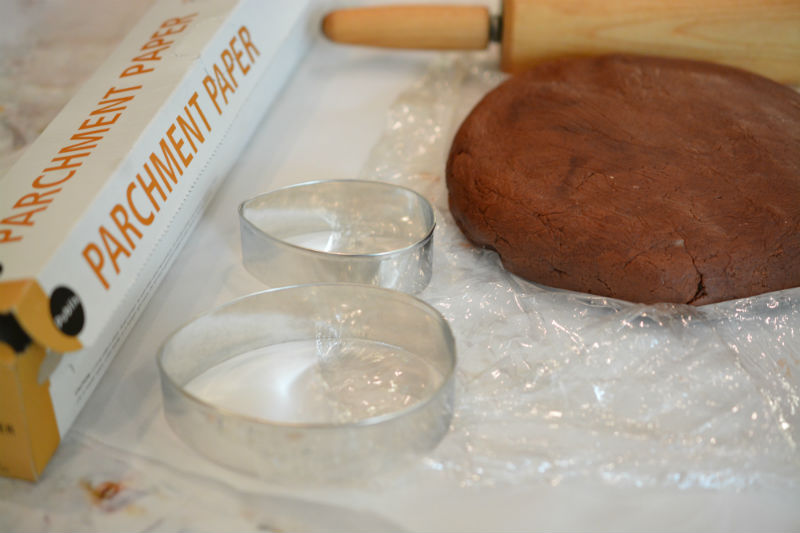 Roll the chilled dough out between two pieces of parchment paper to keep it from sticking to everything.
 I used 3″ and 4″ inch egg shaped cookie cutters that I found on Amazon.
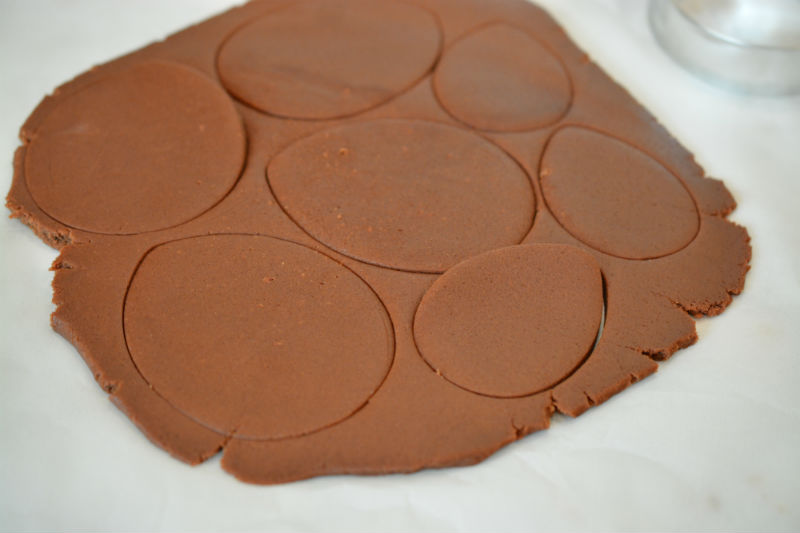
 I chilled the cut dough 10 minutes before baking to ensure they kept their shape.
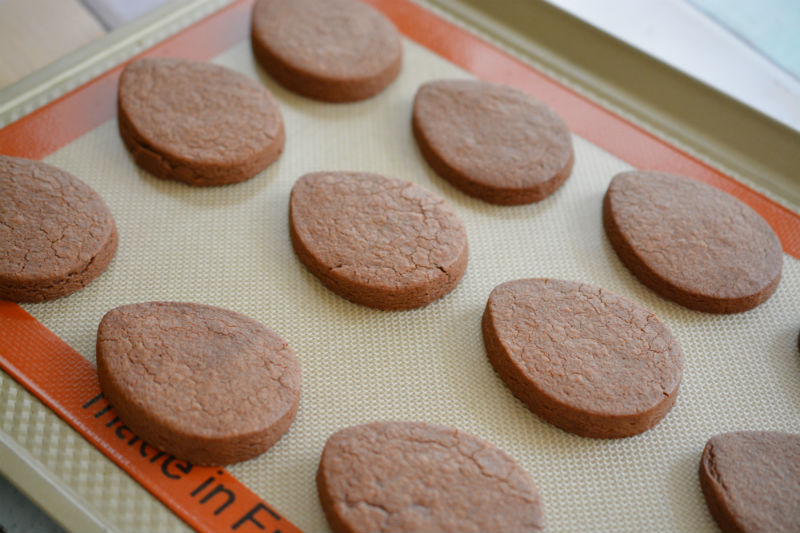
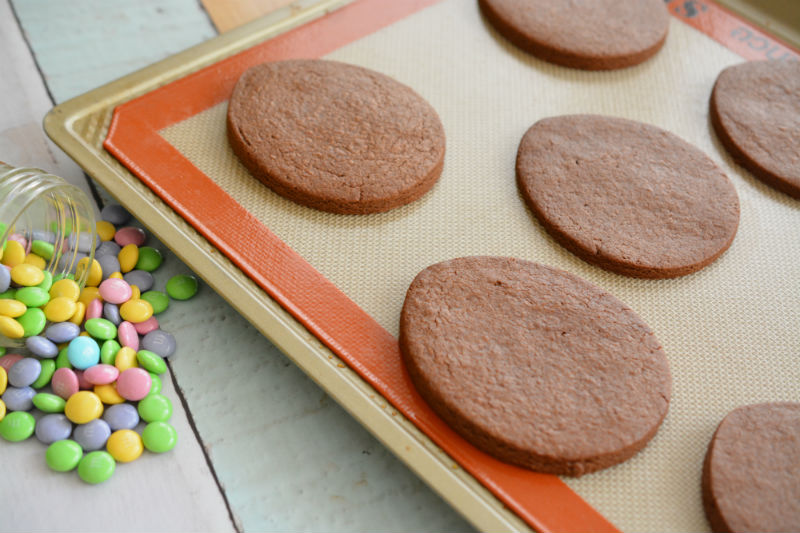 Place the large eggs on one baking sheet, and the small ones on the other, as they require different baking times.
 While the cookies are cooling, make the royal icing. If it sits too long, it will start to get a hard surface.
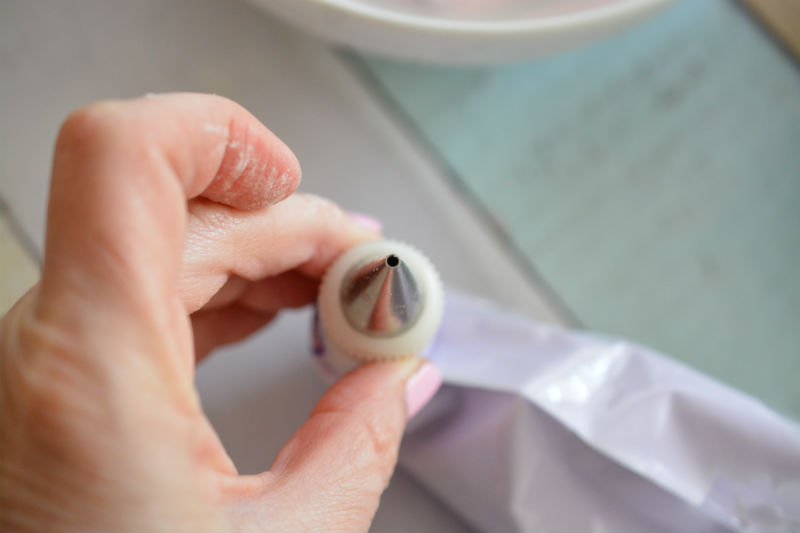 I used #2, #3, #4 and #5 piping tips in disposable piping bags. The size you use will depend on outlining, flooding and design.
 You can see how I didn’t outline the cookie right at the edge. You certainly can do that if you like. I like a little chocolate showing.
 Using a larger piping tip, fill in the outline going back and forth. Use a toothpick to fill in the gaps, then rap the cookie a on the counter gently a few times until the icing fills in completely.
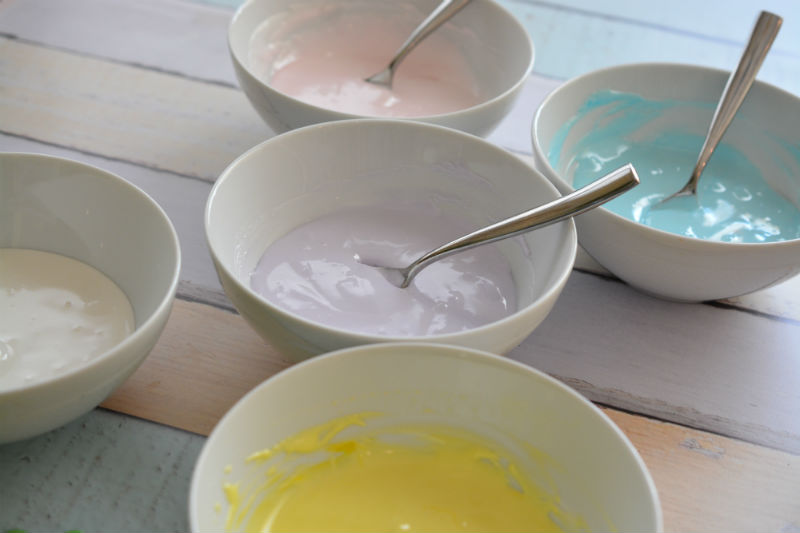 I divided the icing evenly into 5 bowls. One I kept white, and the rest I used a few drops of Wilton food color per bowl to tint the icing.
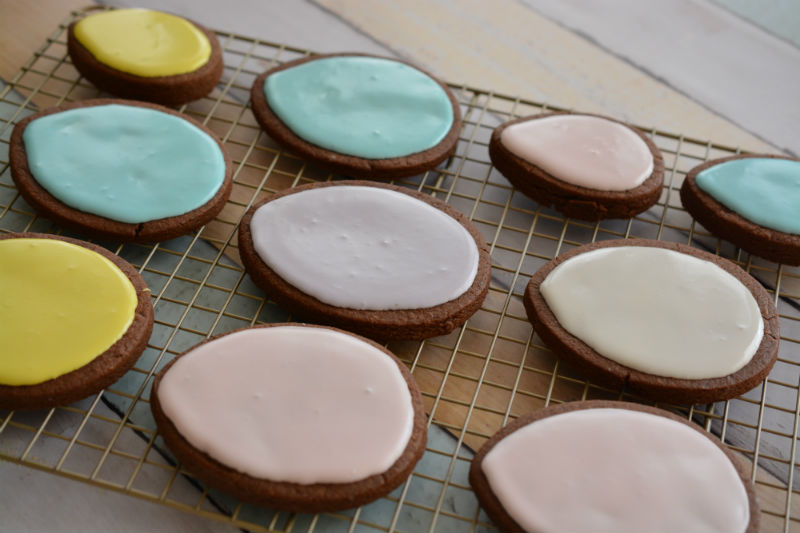 Here are the big and small eggs drying for several hours before I decorated them.
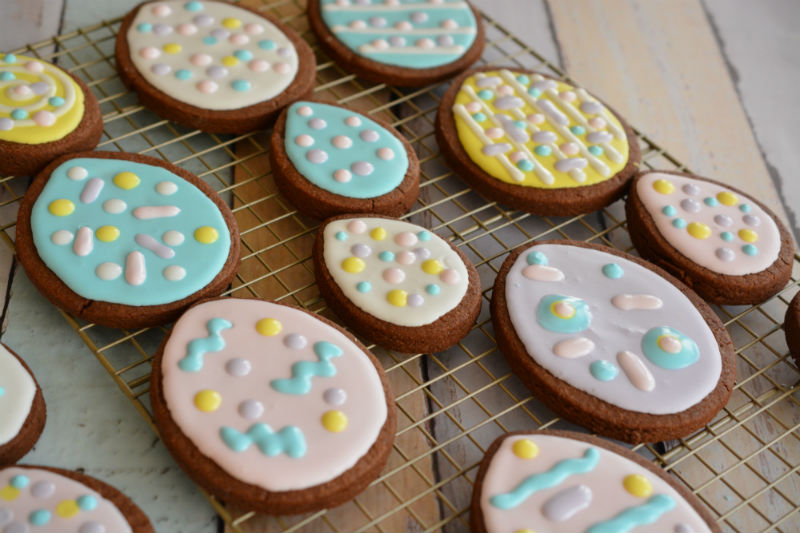
 Once the base icing had hardened, I created some simple shapes to decorate. I let the cookies harden overnight when they were completely done.
 You can see how I used a larger tip to make larger type designs.
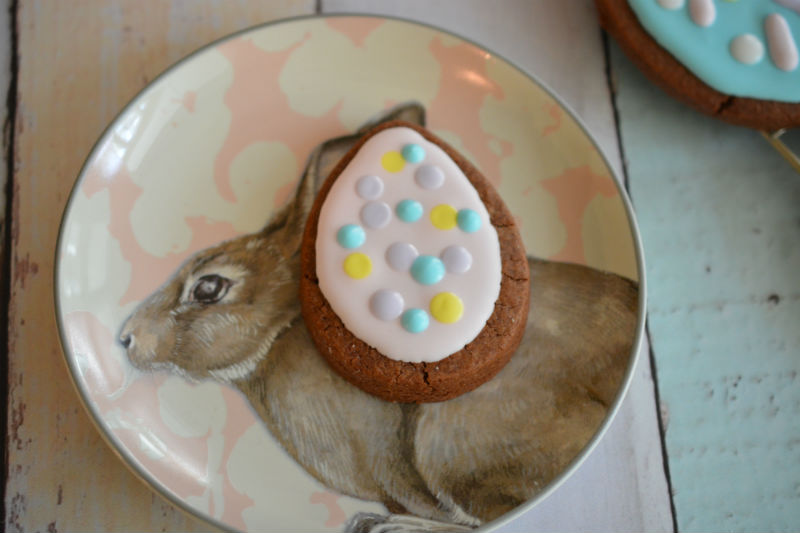
 Just a simple and cute pattern.
 Here they are drying for several hours before I covered them with plastic wrap for the night.
The next day, they have hardened nicely and have lost their sheen.
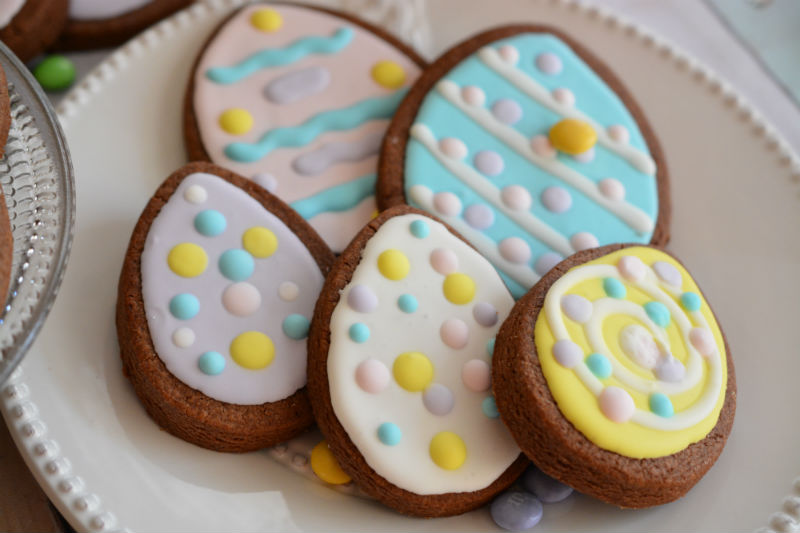
 The large ones were so much fun to decorate!
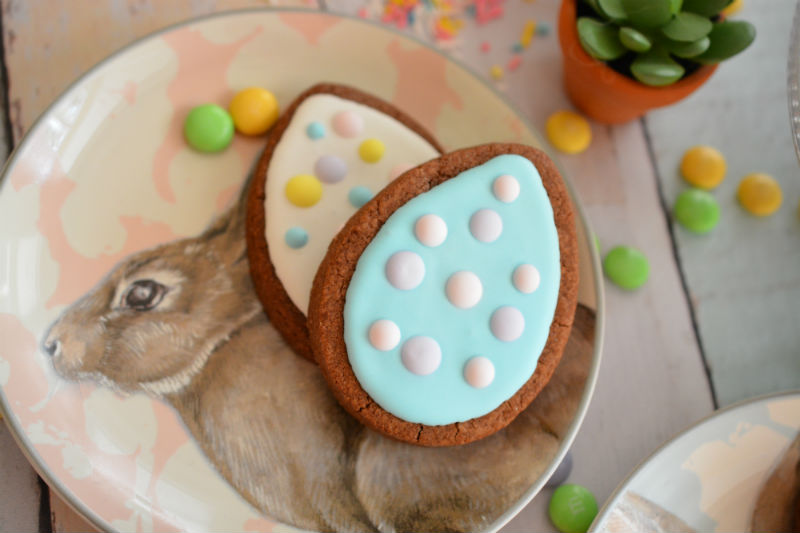 The cutest bunny plate from Williams Sonoma 🙂
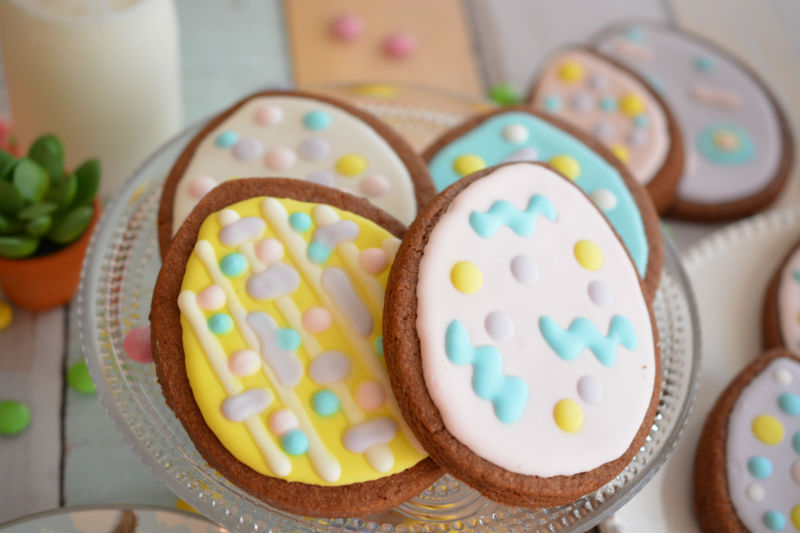
 I had so much fun designing these shots!
 An adorable pink bunny plate!
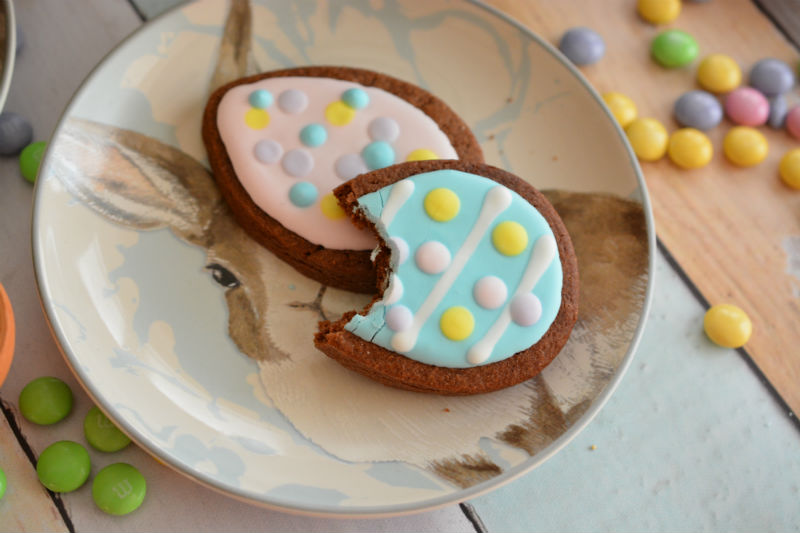 I couldn’t wait anymore..I had to have a bite 🙂
Chocolate Egg Sugar Cookies with Royal Icing
Makes: 7 large and 13 small cookies Prep Time: 1 hour Bake time: 9 to 11 minutes
Ingredients
3 cups all purpose flour
2/3 cup unsweetened cocoa powder
3/4 teaspoon salt
1 teaspoon baking powder
1 and 1/2 cups sugar
1 cup room temperature unsalted butter
2 large eggs
2 teaspoons chocolate extract
Royal Icing
7 and 1/2 cups confectioners sugar
1/2 cup plus 2 tablespoons meringue powder
1/8 teaspoon salt
3/4 cup water plus more for thinning
2 teaspoons vanilla
gel food color to decorate the icing
Directions
Line two baking sheets with parchment paper and set aside.
In the bowl of your stand mixer, beat the butter and sugar until light and fluffy.
Add the eggs, chocolate extract and salt and blend until well incorporated.
In another bowl, whisk together the cocoa, flour and baking powder until no lumps are left.
Slowly add the dry mixture to the butter mixture and combine just until the flour and cocoa mixture is combined.
Form the dough into a ball and place on plastic wrap. Flatten into a disk and wrap the dough.
Let the dough chill for an hour.
After the dough has chilled, cut it into two halves.
Roll each half out between 2 sheets of parchment paper to about 1/4 inch thickness. I made mine a bit thicker.
Cut out your small and large egg cookie shapes. You will end up with about 7 large and 13 small.
Place the shapes on your cookie sheets, being careful not to overcrowd. Chill for 10 minutes.
Preheat your oven to 350 degrees.
Bake the large shapes for about 11 minutes.
Bake the small cookies for about 9 minutes.
Cool cookies on the pan for 10 minutes before removing them to a cooling rack.
Make the royal icing
In the bowl of your stand mixer fitted with a whisk attachment, beat the confectioners sugar, meringue powder and salt at a low speed until combined.
Add 3/4 cup of water and vanilla, beating until combined.
Scrape sides of bowl, and increase mixer speed to medium low.
Beat until icing is light in color and holds a stiff peak, about 3 to 5 minutes.
Add 1 tablespoon of water at a time to icing until it reaches the right flood consistency. To test flood consistency, scoop out a spoonful and drop it back into the bowl. It should take 15 to 20 seconds for the surface of the icing to become completely smooth.
Divide the icing into as many bowls as you like and add a few drops of gel color to each to achieve the desired colors.
Fill your piping bags with the individually colored icing and fit the bags with your piping tips.
Make sure your cookies are completely cool before you begin decorating them.
Begin by outlining the cookies.
Flood the cookies by going back and forth horizontally and filling in the outline with the icing.
When all your cookies have been outlined and flooded, let them dry for 4-6 hours, or overnight before decorating them.
You can store your icing in airtight containers, then add a bit more water when you are ready to decorate them.
* I used disposable piping bags and #4 or 5 piping tips for outlining and flooding the cookies. Tip numbers 1-3 are for squiggles, polka dots and writing. (See my photos above for ideas and instructions)
Store your cookies in airtight containers for about 4-5 days. They can also be frozen!
no comments