Black and White Cookies
By Lizzie on January 27, 2019
Hey my friends!! It’s been a super hectic time since my last blog post, so I’m playing catch up here in my house 🙂 Michael and I went to Deer Valley, Utah for a week right after the new year, and wow…was it spectacular!! If you love to ski and love winter weather, this is a must visit location on your vacation list!! It’s about 8300 feet above sea level, so it can be a bit challenging on your lungs. This time, I really felt the altitude and ended up getting sick towards the end of the trip. I am just now starting to feel normal again..if there is such a thing 🙂
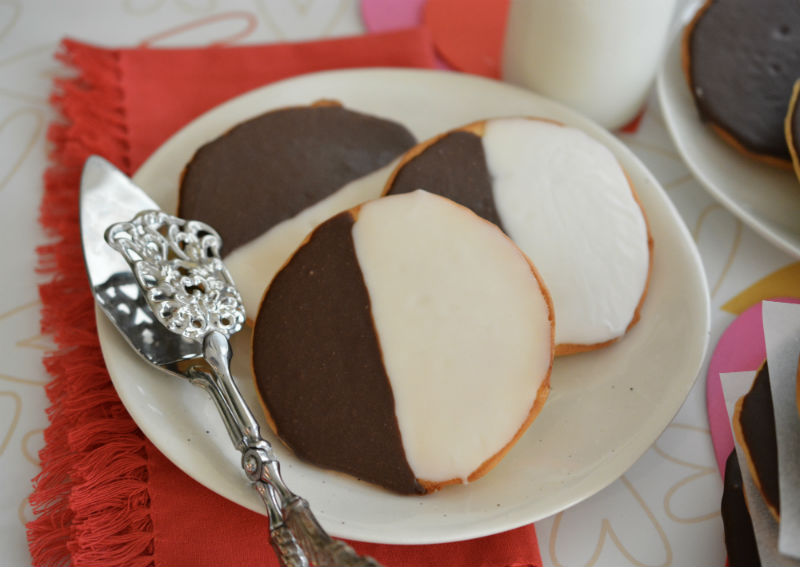
For any of my friends from NYC, you will totally get why I love this recipe! I am a native New Yorker, (even though I was born there and didn’t stay long after), I love the city so much and we visit as often as we can. My family is originally from New Jersey, and my Mom lived in Manhattan for 11 years beginning in 2005. These cookies are a traditional cookie that everyone from New York knows. Each time we visit, I must find a bakery that carries these special cookies. The taste of them makes me feel like I am back up north and walking the streets of the city visiting every bakery I can 🙂
I hope you love these cookies as much as I do!! Make sure to keep them in an airtight container when they are cooled and the frosting is totally set. They tend to get stale quickly, so keeping them in a good quality container is a must!!
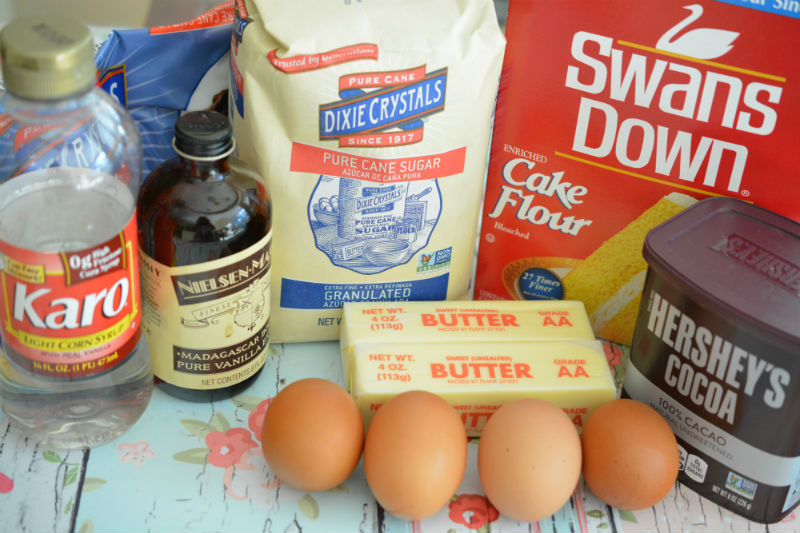 Some of the yummy ingredients that go into these cookies! Cake flour makes them extra tender!
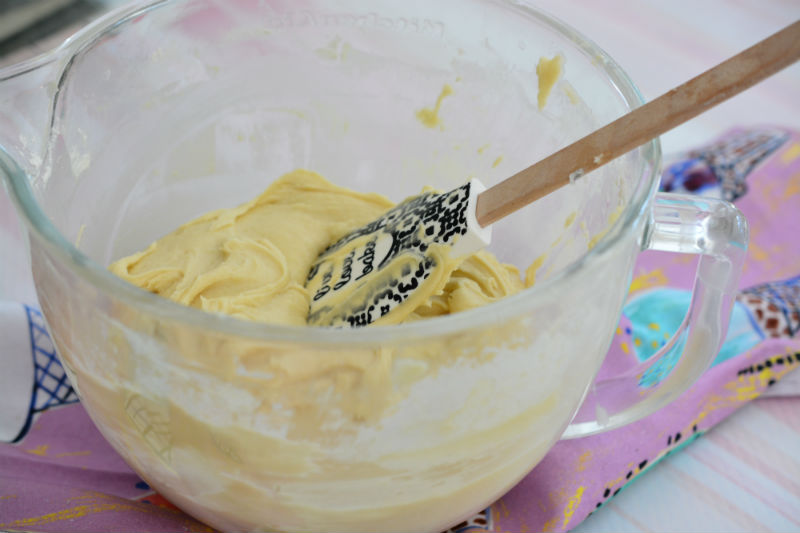 The batter is like a cake but thicker.
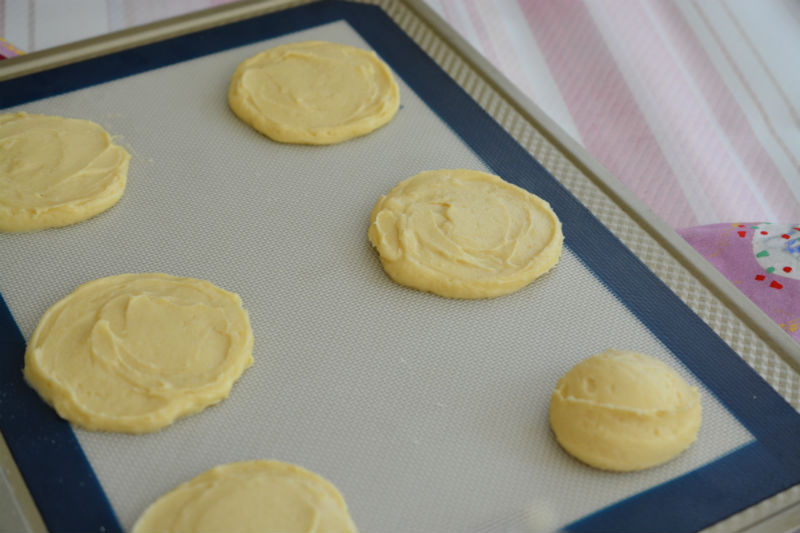 Use a larger ice scream scoop and put 6 on a silicone baking mat or parchment.
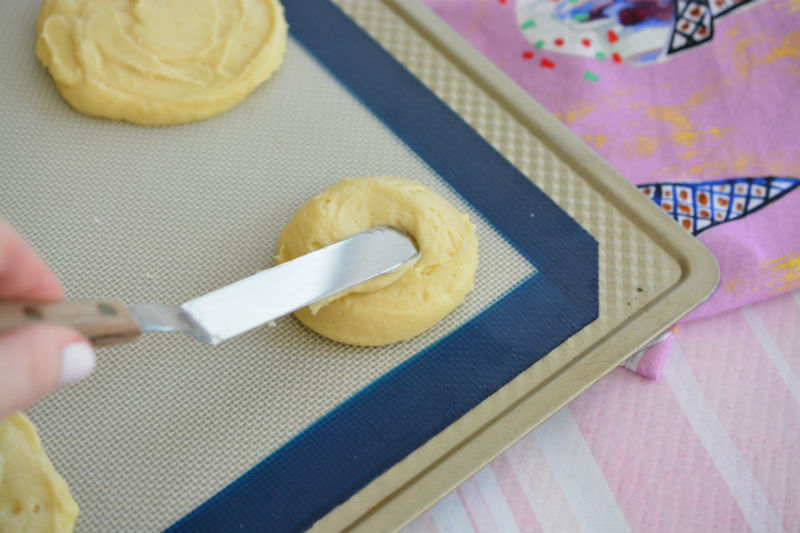 With a small offset spatula, spread the batter to about 3 inches around. Make sure not to make the edges too thin or they will burn.
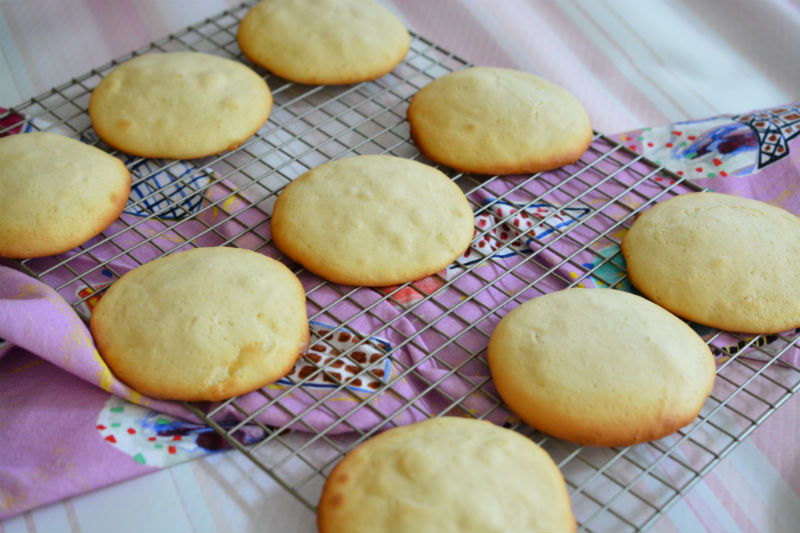 The edges will be lightly golden brown when the cookies are done.
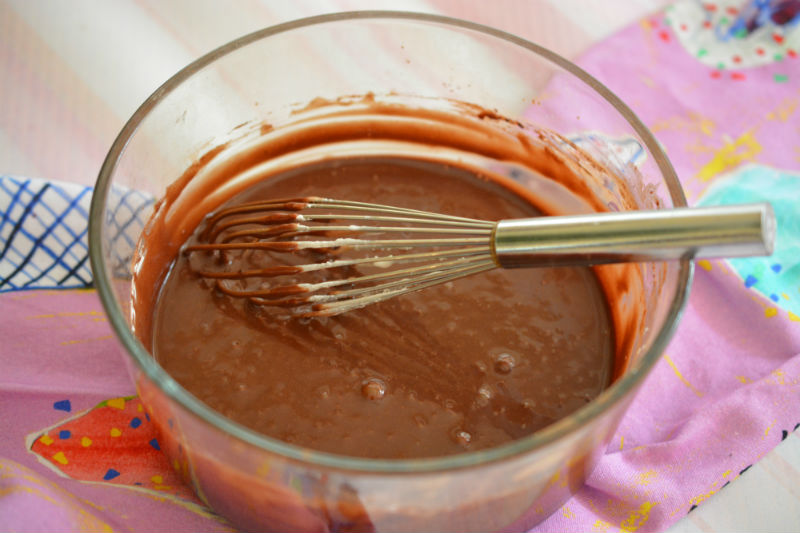 When the cookies are cooling, make both glazes.
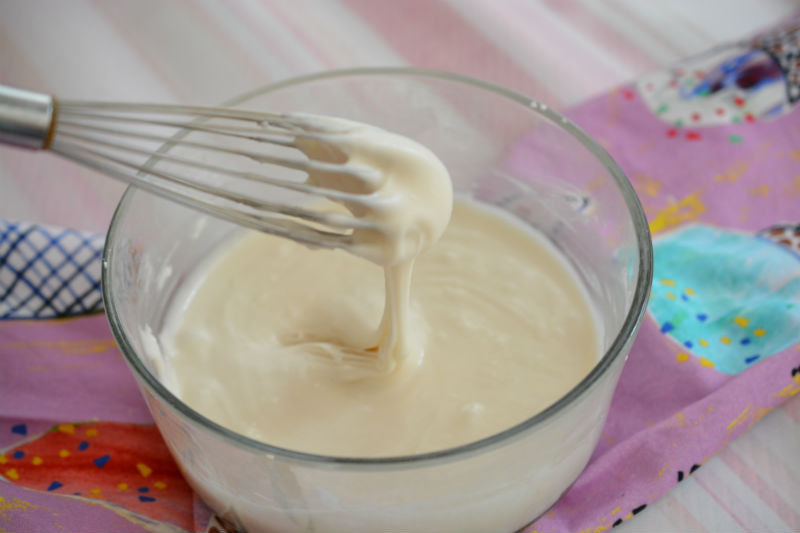 The vanilla glaze is super sweet and yummy!
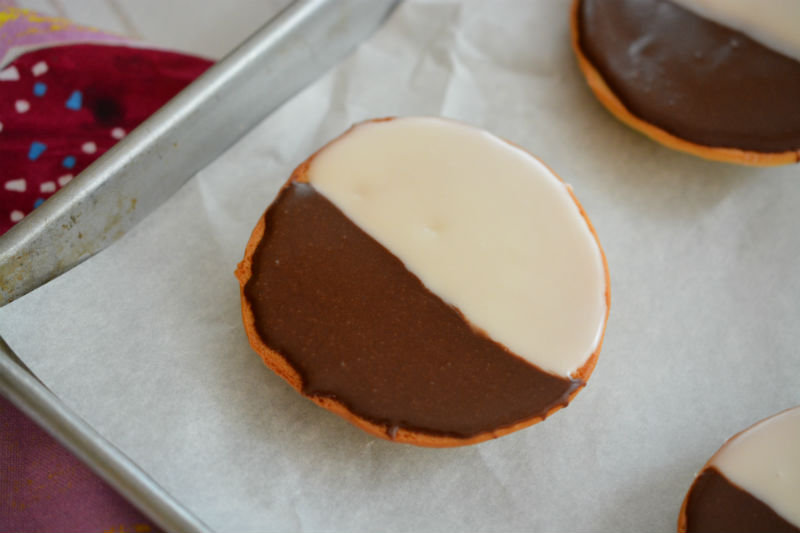 When the cookies are completely cool, flip them upside down. Start with the vanilla glaze first and spread it on one half of the cookie. Spread the chocolate on the other half. Let them sit and set up for a few hours before packing them away.
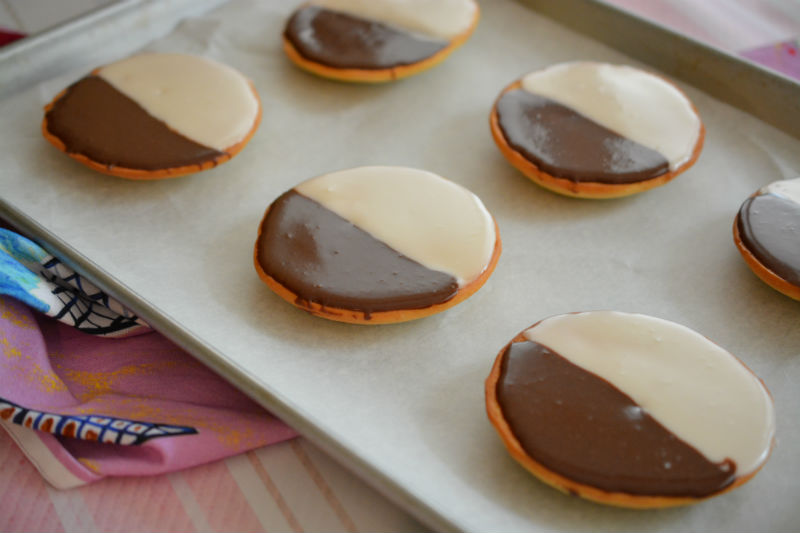 They are so pretty and perfectly delicious while the icing sets up, but it will get ruined if you try and box them up too soon!
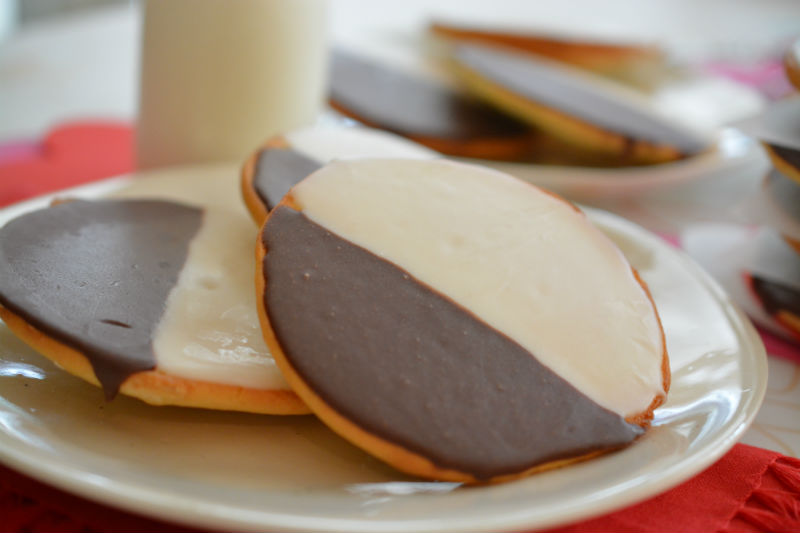 See how the icing dries and doesn’t look shiny when they are ready to pack up?
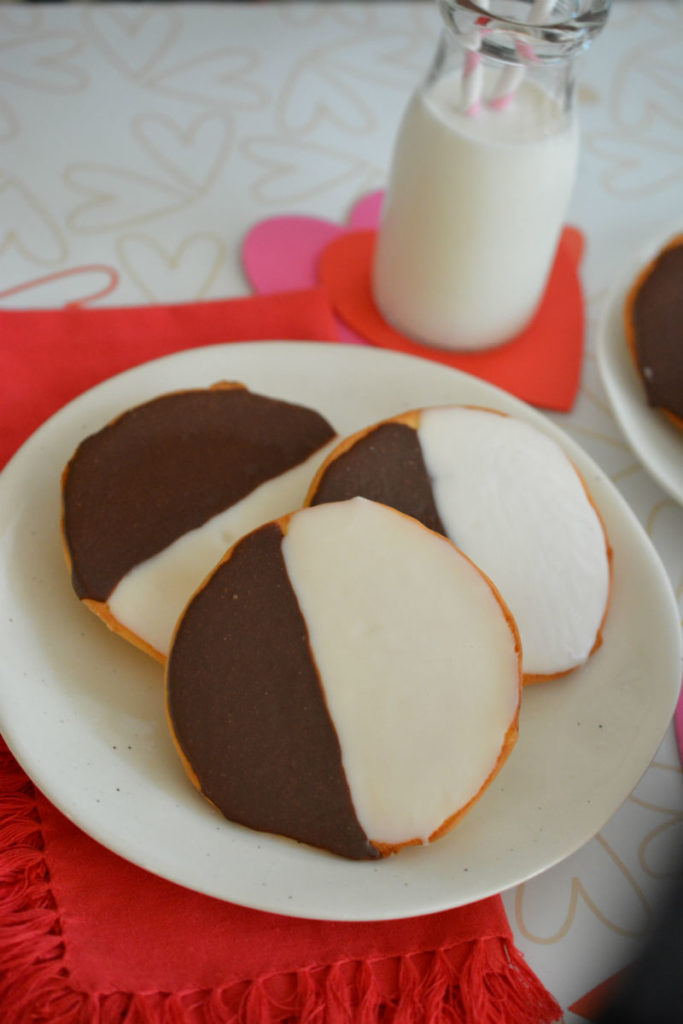 They make such a pretty gift too for Valentines Day or any occasion 🙂
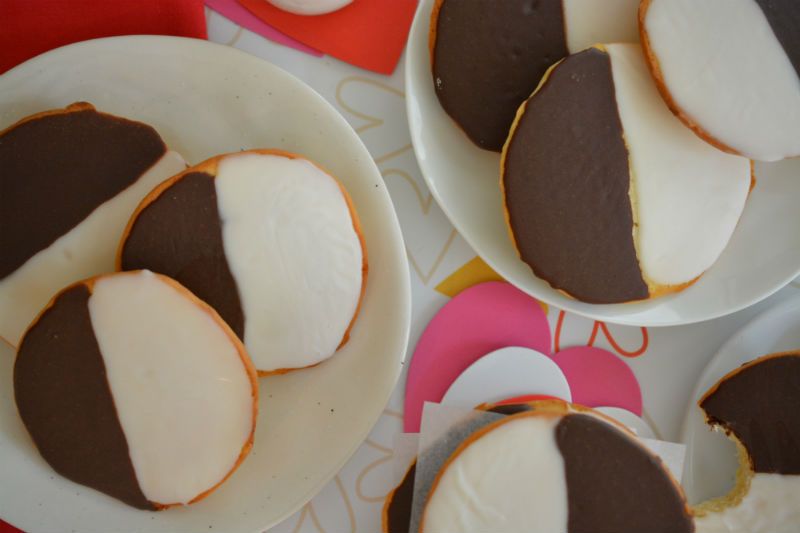 This recipe makes 21 big cookies, so you can share some or just eat them all by yourself 🙂
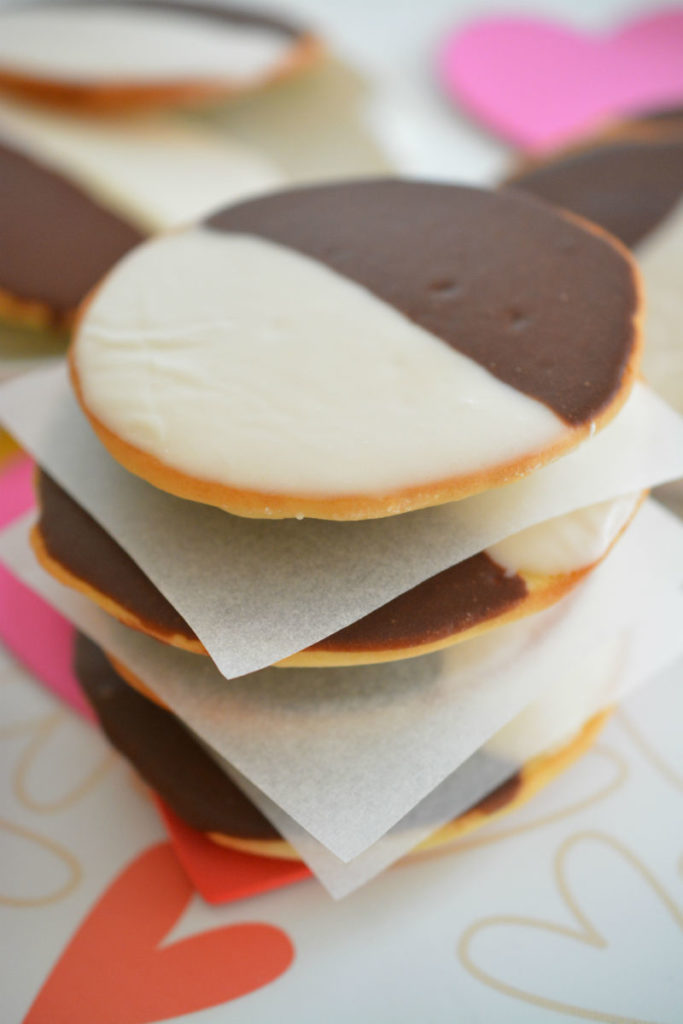 How pretty are they? I love food as a gift for someone special 🙂
Black and White Cookies
Makes: 21 jumbo cookies Prep time: 45 minutes Bake time: 10 to 12 minutes
Ingredients
Cookies
1 cup unsalted butter
2 cups Dixie Crystals Sugar
4 eggs
1 cup whole milk
1 teaspoon pure vanilla extract
2 and 1/2 cups cake flour
2 and 1/2 cups all purpose flour
1 teaspoon baking powder
3/4 teaspoon salt
Vanilla glaze
4 cups plus 7 tablespoons confectioners sugar
7 tablespoons whole milk
2 teaspoons pure vanila extract
Chocolate glaze
1/2 vanilla glaze recipe
4 tablespoons cocoa powder
Directions
Preheat your oven to 350 degrees. Line 2 or 4 baking sheets with parchment paper or silicone mats. Set aside.
In the bowl of your stand mixer, beat together the butter and sugar until the mixture is light and fluffy.
Add in the eggs, one at a time, scraping down the bowl as needed.
Add in the milk and vanilla extract. Beat until the lumps are gone.
In another bowl, whisk the flours, salt and baking soda together.
Slowly add into the wet mixture and mix until combined. Be careful not to over mix or your cookies will be tough.
Using a large ice cream scoop, place six scoops per baking sheet.
With a small offset spatula, spread the cookies to about 3 inches wide. Make sure the edges are not too thin.
Bake the cookies for 5 minutes then rotate the pan.
Bake for another 5 to 7 minutes or until the cookies are lightly golden brown and set in the center.
Remove from the pan and cool on a baking rack until they are completely cool.
Make the glazes
In a medium sized bowl, whisk together the confectioners sugar, milk and vanilla. The mixture will be thick enough to spread on your cookies.
Divide the mixture in half and separate it into two bowls.
In one of the bowl, add 4 tablespoons of cocoa to the vanilla glaze. You may need a bit more milk if it’s too thick, or you can add a bit more confectioners sugar if you think it’s too runny.
Turn the cooled cookies over so you can work with the flat side.
Spread the vanilla glaze over half of the flat sided cookie.
Spread the chocolate glaze over the other side of the cookie.
Let the cookies sit on a cooling rack until the glaze is completely set before you pack them up.
These cookies can get stale quickly, so make sure you keep them in a good quality air tight container. You can also put them in the microwave for a few seconds to warm them a bit.
If you want to freeze these, make sure they are completely dry first. Wrap each individually in wax paper then place them in a freezer bag.
They should keep for up to a month in the freezer.
Enjoy!! xoxo 🙂
no comments
