Peanut Butter Oatmeal Fudge Cups
By Lizzie on March 2, 2020
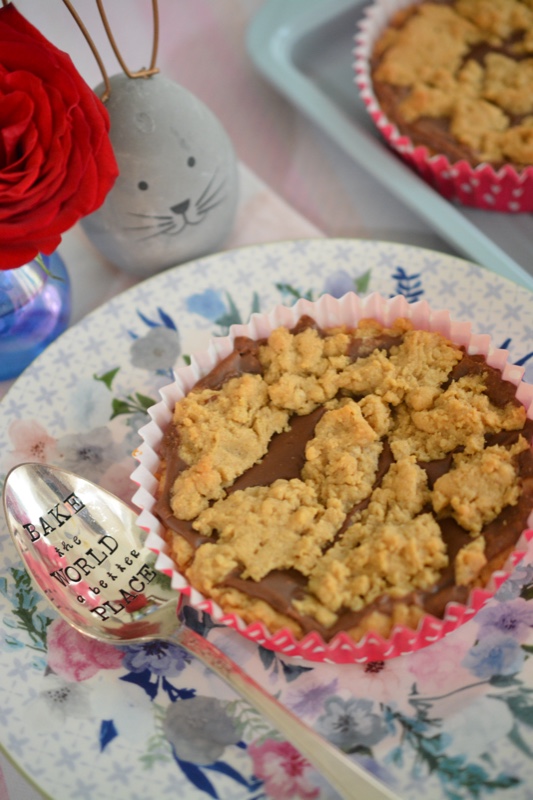
Hey my baking friends! Can you believe it is March already? I feel like we went straight from a brief Florida winter, directly into summer because it’s already in the 80’s here. Don’t be jealous of me, because if you are anywhere in the country which has a change of seasons, I am the one jealous of you 🙂 I long for those kind of winters that I used to love in the Northeast 🙂
It’s been a super busy and fun time around here lately…lots of company and lots of new and fun recipes that I have had the opportunity to create. One of the best gifts I have received lately was from Wilton! As you all know, they are a FABULOUS cake decorating and dessert supply company that basically has anything you could ever want or need when it comes to being a baker! They were SOOO kind and sent me a set of Texturra Bakeware, and I immediately had to begin creating recipes just so I could begin using all the pieces in the set!! I have to say that even if they hadn’t been so generous as to gift me this amazing bakeware, I still would have shared with you all how much I adore using it!! I love the pretty light blue color, how the air circulates around the pans while baking, how quickly they cool down, and how easy they are to clean after you use them. I love them so much that I created this super yummy recipe just so that I could use the baking sheets!! I didn’t even have to line them with parchment paper 🙂
You guys know how much I love to take pretty photos, so I created them using these adorable paper liners I purchased from Amazon. It’s like having your own individual treat that you get to eat all by yourself 🙂 The recipe makes 13 large cups, and they are easy to pack up or freeze too!
Let me know if you love them, and also let me know if you have used Texturra Bakeware!!!! Happy almost Spring 🙂
xo
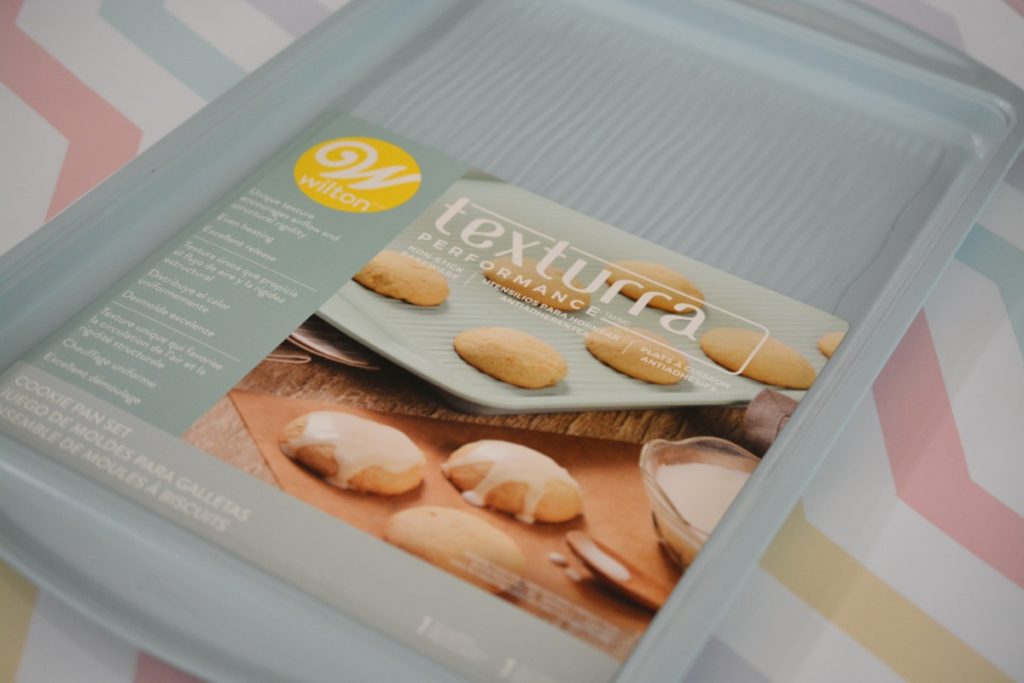 Here is one of the baking pans I used! You’ve got to get some Texturra Bakeware!!
  I loved using Nielsen Massey Chocolate Extract ! It gave the dough and the fudge an extra kick of chocolate, and that can only be a good thing 🙂
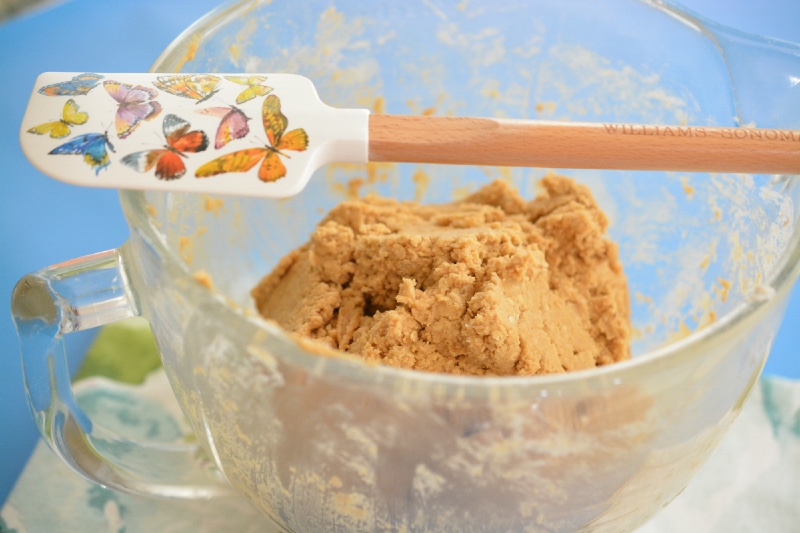
The oatmeal dough is filled with peanut butter!! How can that be a bad thing? 🙂
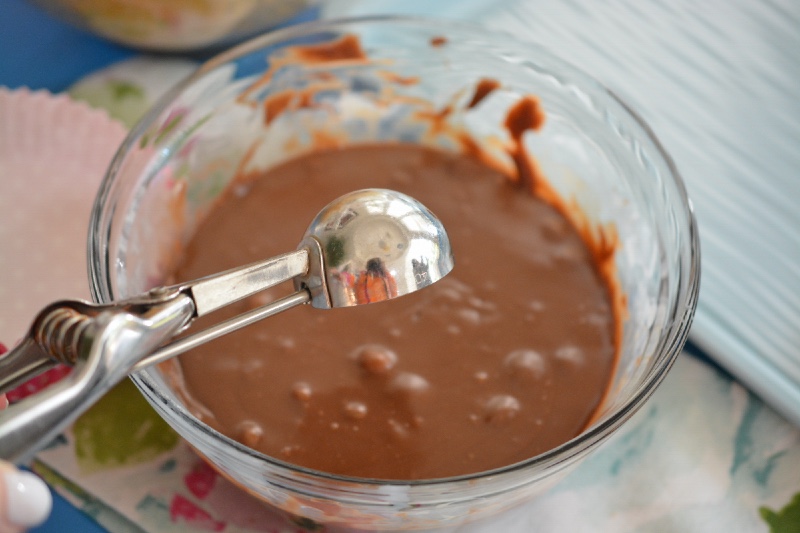 You can create this luscious fudge right in the microwave. Just make sure to use the best quality milk chocolate bars!! I used giant Hershey Bars 🙂
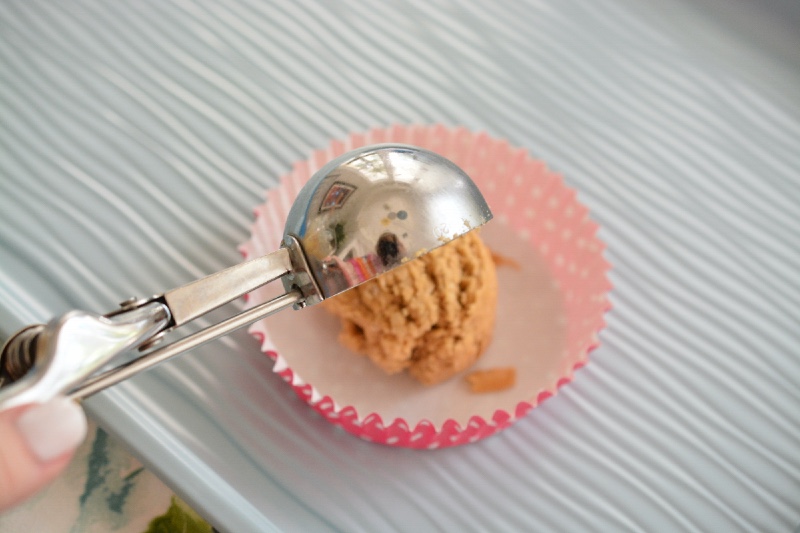 With an ice cream scooper, place one scoop in the bottom of the cup. Press it flat with your fingers.
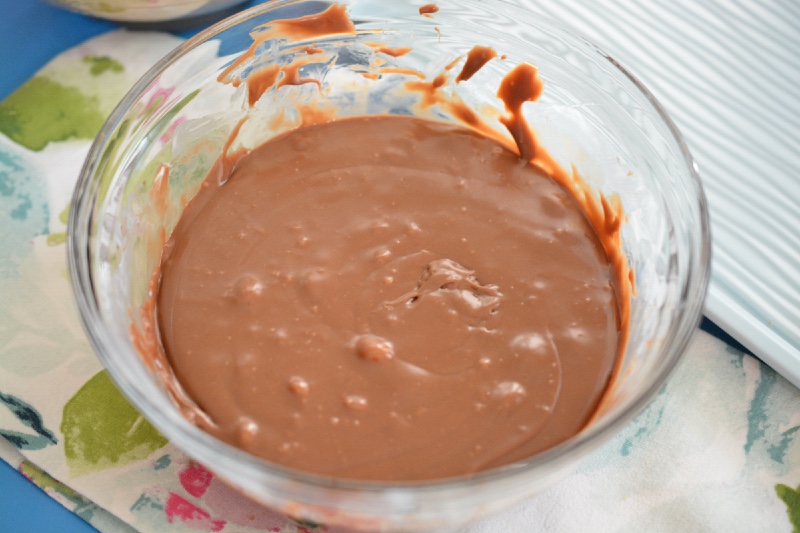 With a smaller scoop, place some of the fudge on top of the oatmeal later and spread it with an offset spatula.
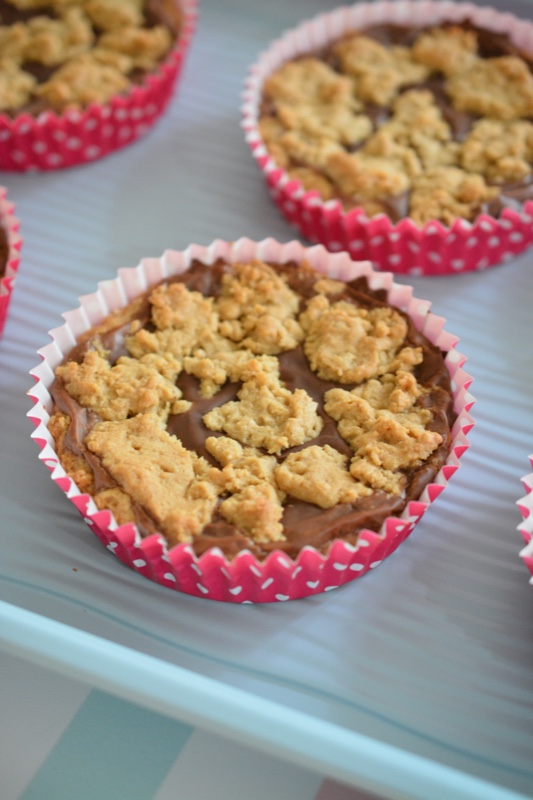 Crumble pieces of the dough on top of the fudge layer and bake!!
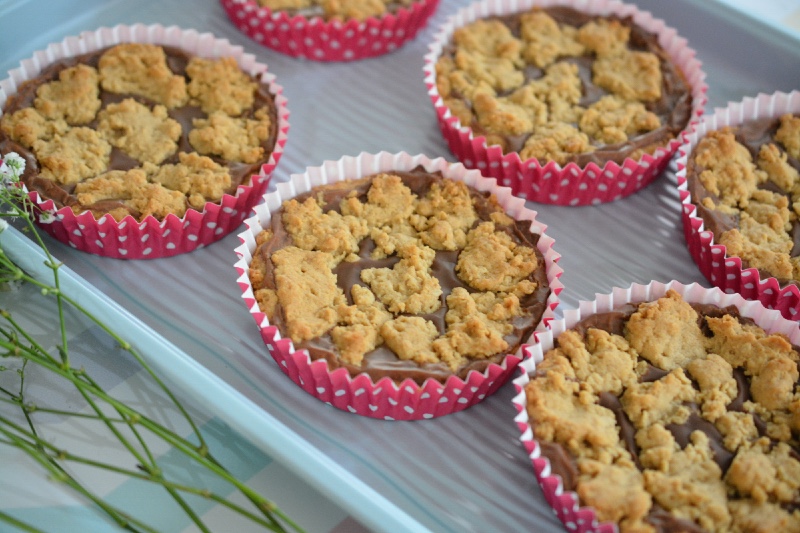 Look how pretty they are when they are done, and look how pretty the pan is 🙂
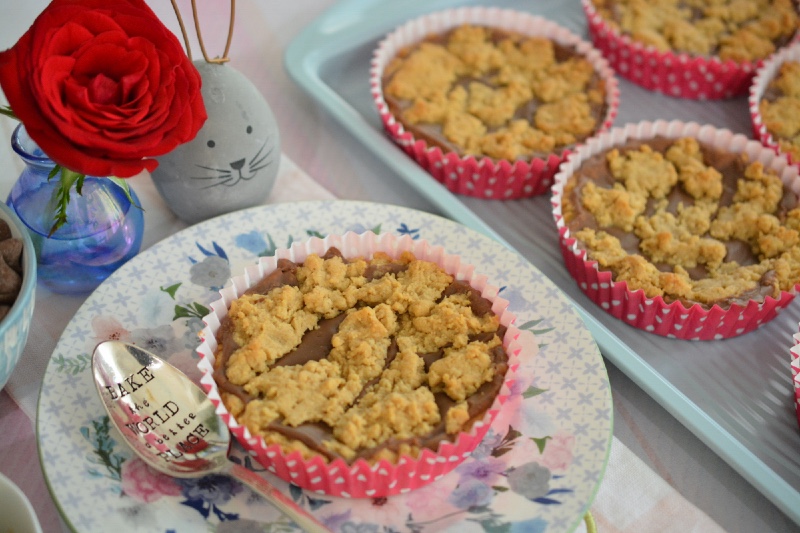 This was such a fun shoot 🙂
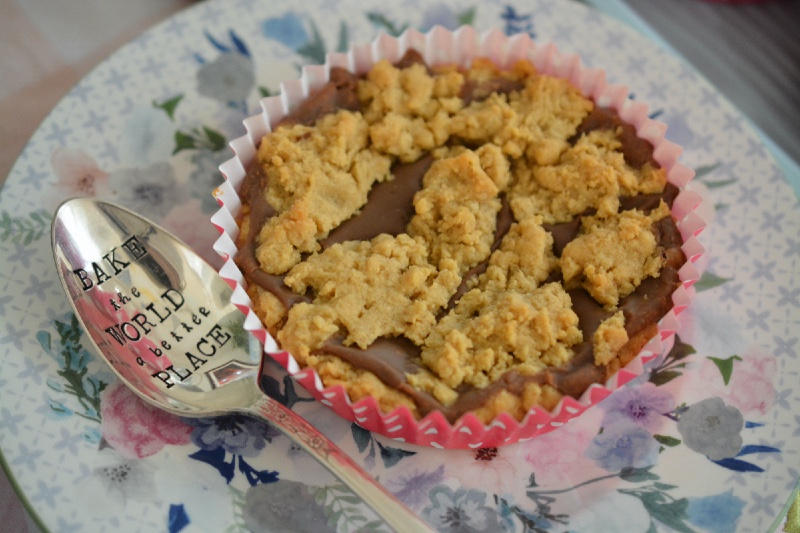 They seriously taste as yummy as they look 🙂
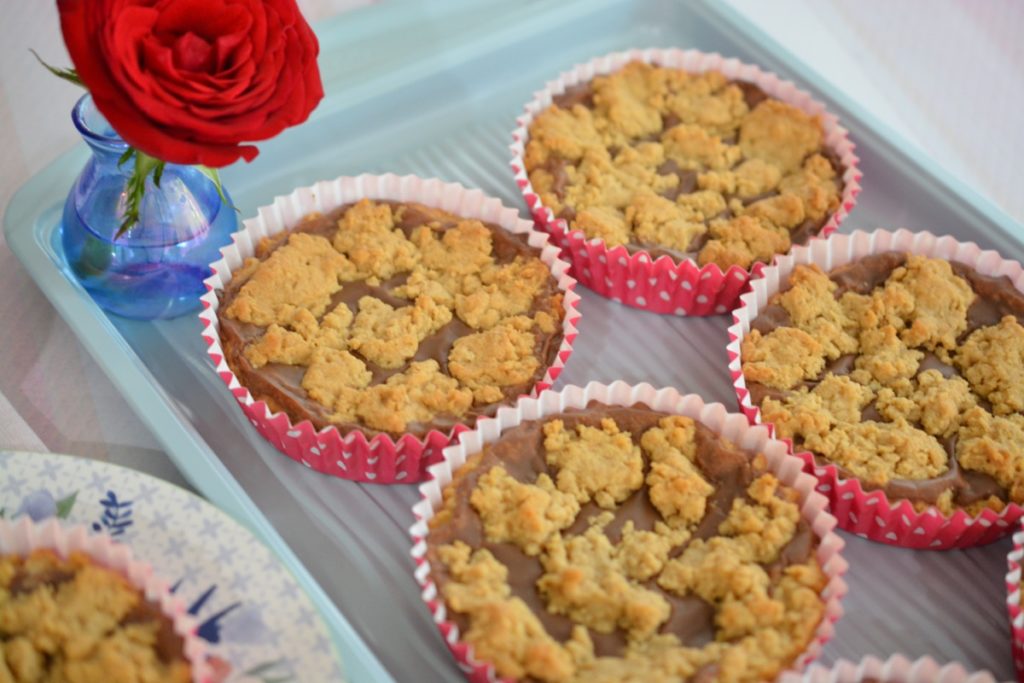
Peanut Butter Oatmeal Fudge Cups
Makes: 13, 4 inch baking cups Prep time: 35 minutes Bake time: 18 to 20 minutes
Ingredients
Oatmeal Dough
1 cup crunchy peanut butter
1 cup, softened unsalted butter
2 cups, Dixie Crystals Light Brown Sugar
2 large eggs
1 and 1/2 teaspoons, Nielsen Massey Chocolate Extract
3 cups quick cooking oats
1 teaspoon baking soda
1 teaspoon salt
2 and 1/2 cups all purpose flour
Fudge
11 ounces best quality milk chocolate, (not chocolate chips)
1, 14 ounce can sweetened condensed milk
2 tablespoons unsalted butter
1 teaspoon Nielsen Massey Chocolate Extract
Directions
Preheat your oven to 350 degrees. You’ll need 13, 4 inch paper liners and one small and one standard sized ice cream scoop for the dough and the fudge. You’ll also need two baking sheets.
In the bowl of your stand mixer, beat the softened butter and brown sugar until it is light and smooth.
Add in the peanut butter and mix until combined.
Add in the eggs, one at a time until well incorporated. Then, add in the chocolate extract.
Add in the salt, baking soda and quick cooking oats. Mix until incorporated.
Slowly add in the flour until the mixture comes together. Be careful not to over mix.
Set aside and make the fudge.
In a microwave safe bowl, break up the milk chocolate into small pieces.
Pour the condensed milk over the top.
Microwave for one minute and add in the butter and chocolate extract.
Stir vigorously until the fudge comes together.
With your larger ice cream scoop, place one scoop of dough in the bottom of the paper cups. Spread the dough onto the bottom of the cup with your fingertips.
With your smaller scoop, place a scoop of fudge on top and spread it out with a small offset spatula.
Crumble a small handful of dough over the top so you can still see the fudge peeking through.
Repeat this process until you have 13 cookie cups filled.
Place 6 per baking sheet and bake for 18 to 20 minutes, being careful not to over bake. You still want them soft and kind of gooey 🙂
Repeat until all the cups are baked.
Let them cool completely before packing into airtight containers.
Freeze the leftovers wrapped in wax paper and foil.
They really need to be eaten warm so the chocolate is very soft, so heat them for a few seconds in the microwave if you don’t get to eat them straight from the oven 🙂
Enjoy every last bite 🙂
xoxo
no comments
